
이번에는 cli가 아닌 Amplify console에서 백엔드 환경을 연결해보자.
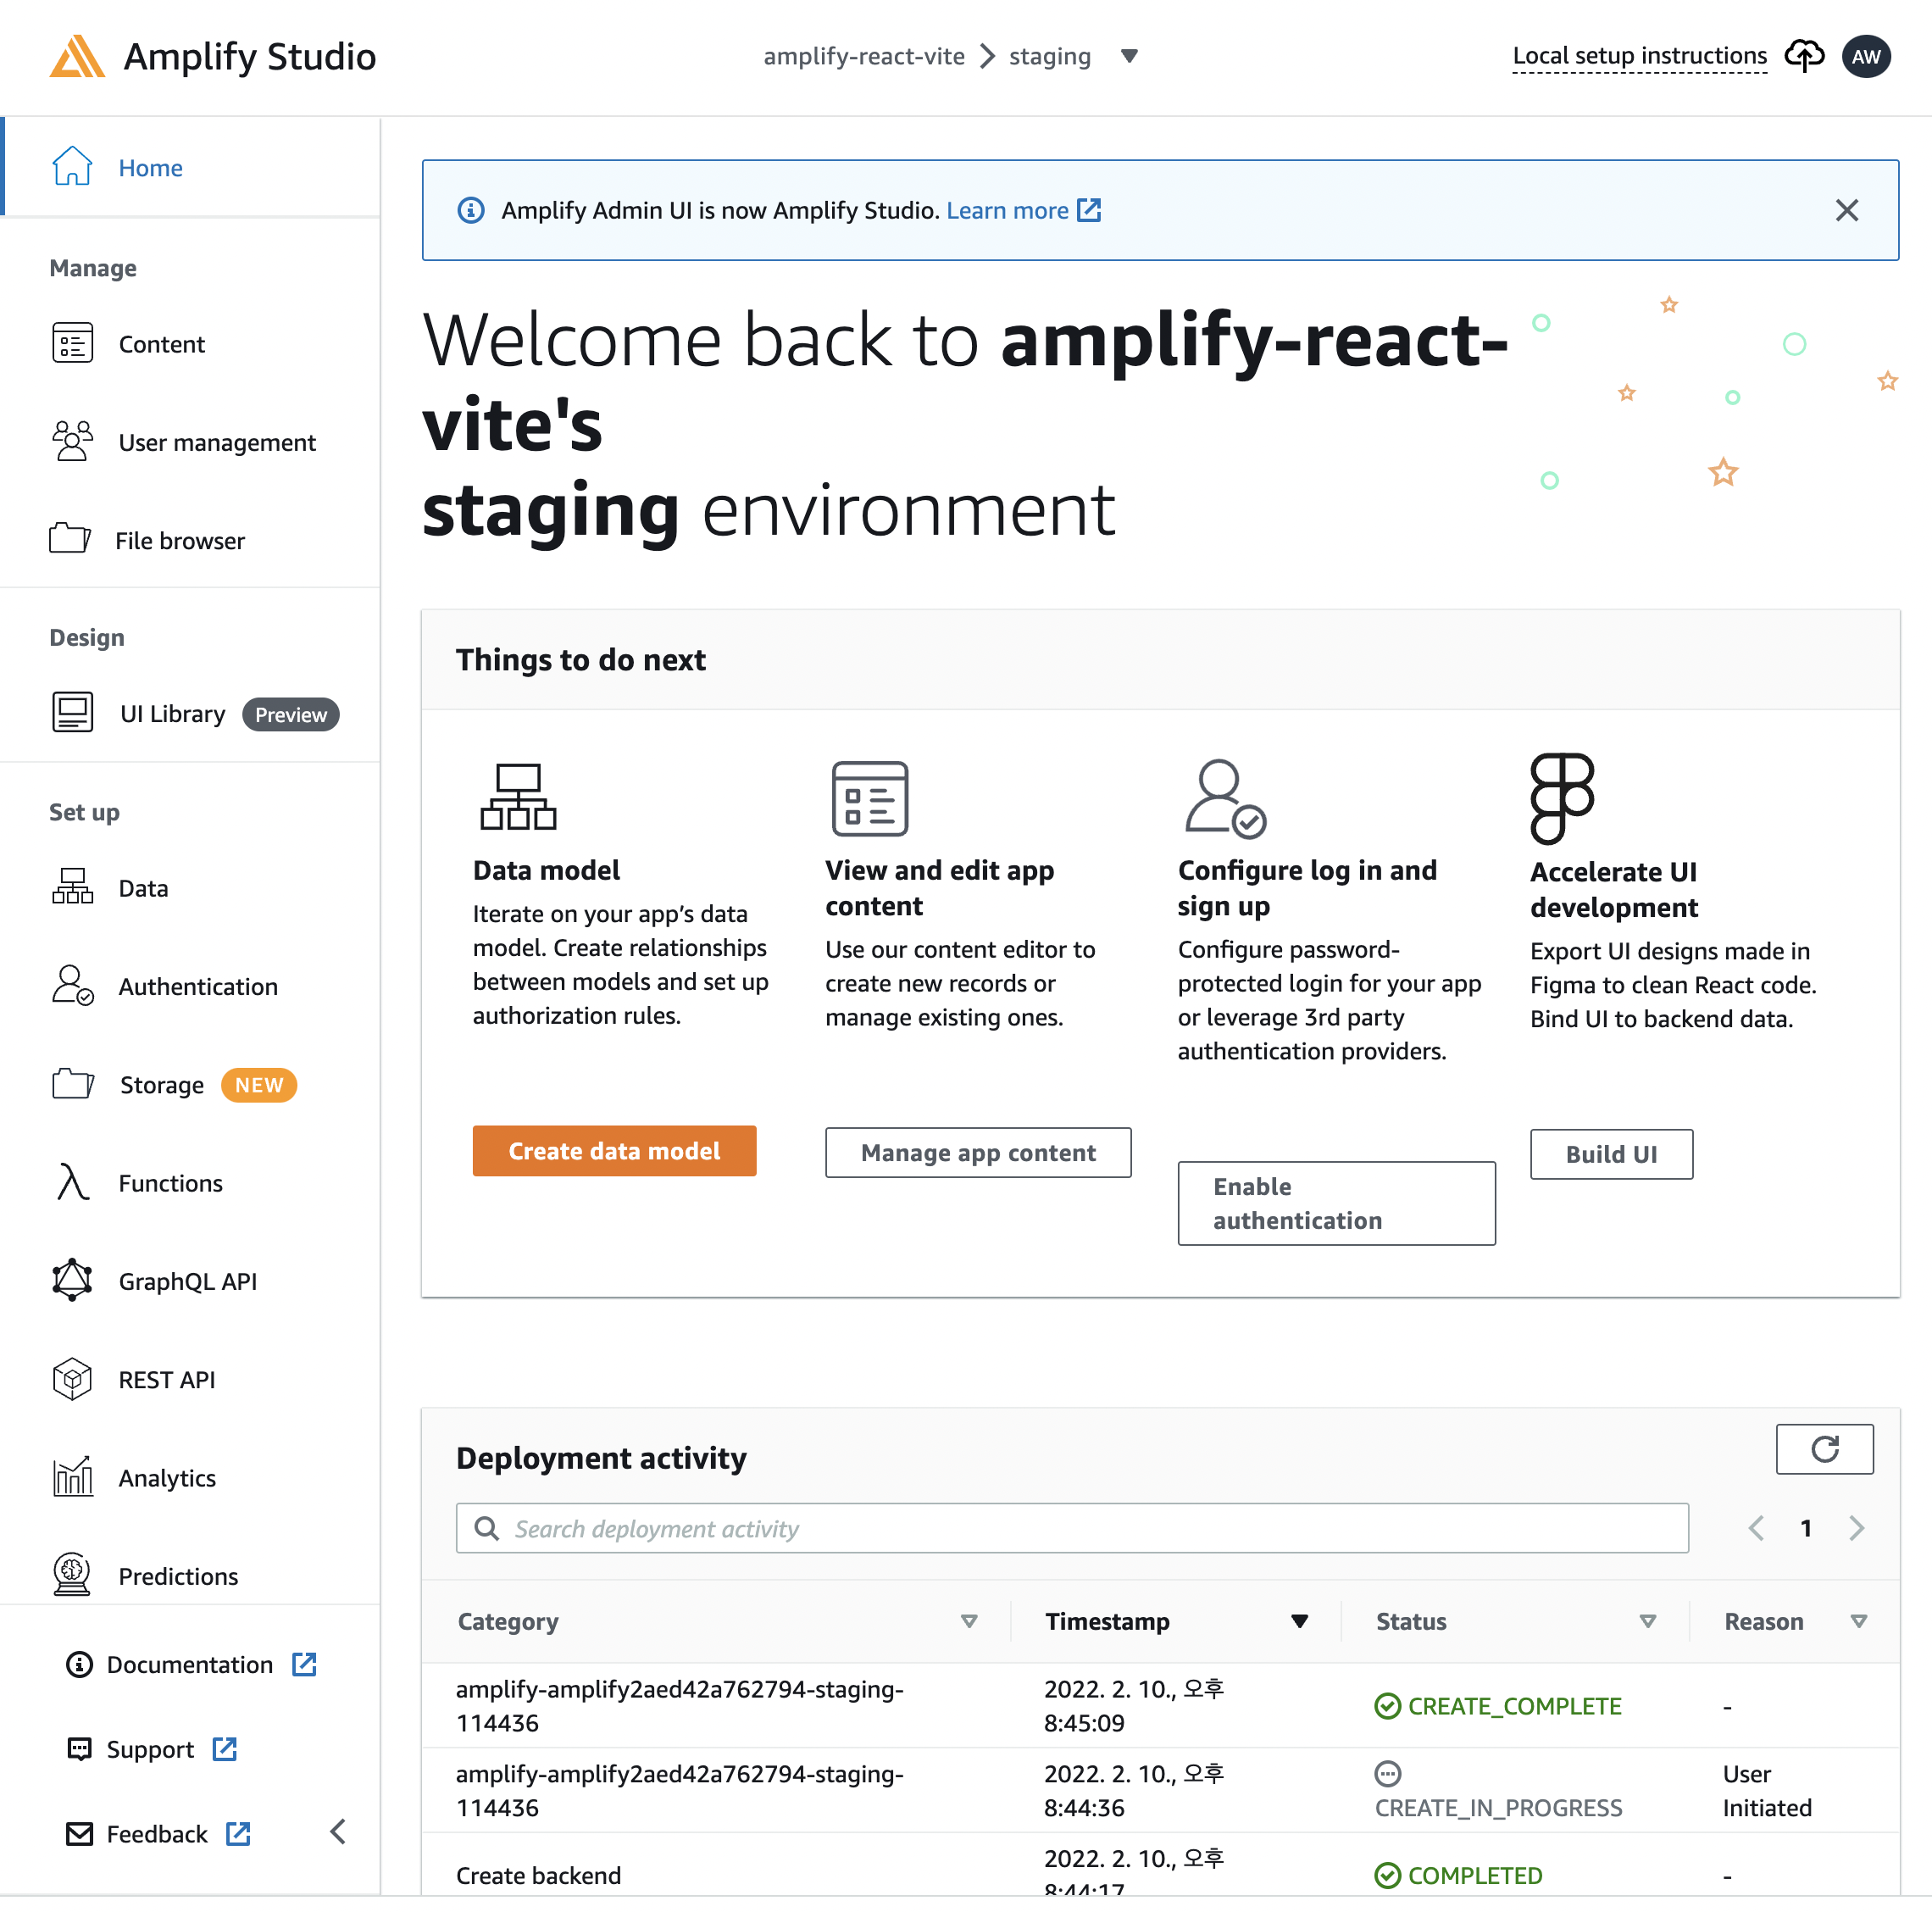
1. Amplify Studio 시작

Get Start를 누르면 몇 초 후 아래와 같은 화면이 나온다
2. authentication service 만들기
인증 부분을 구현하기 위해 Authentication 탭 클릭
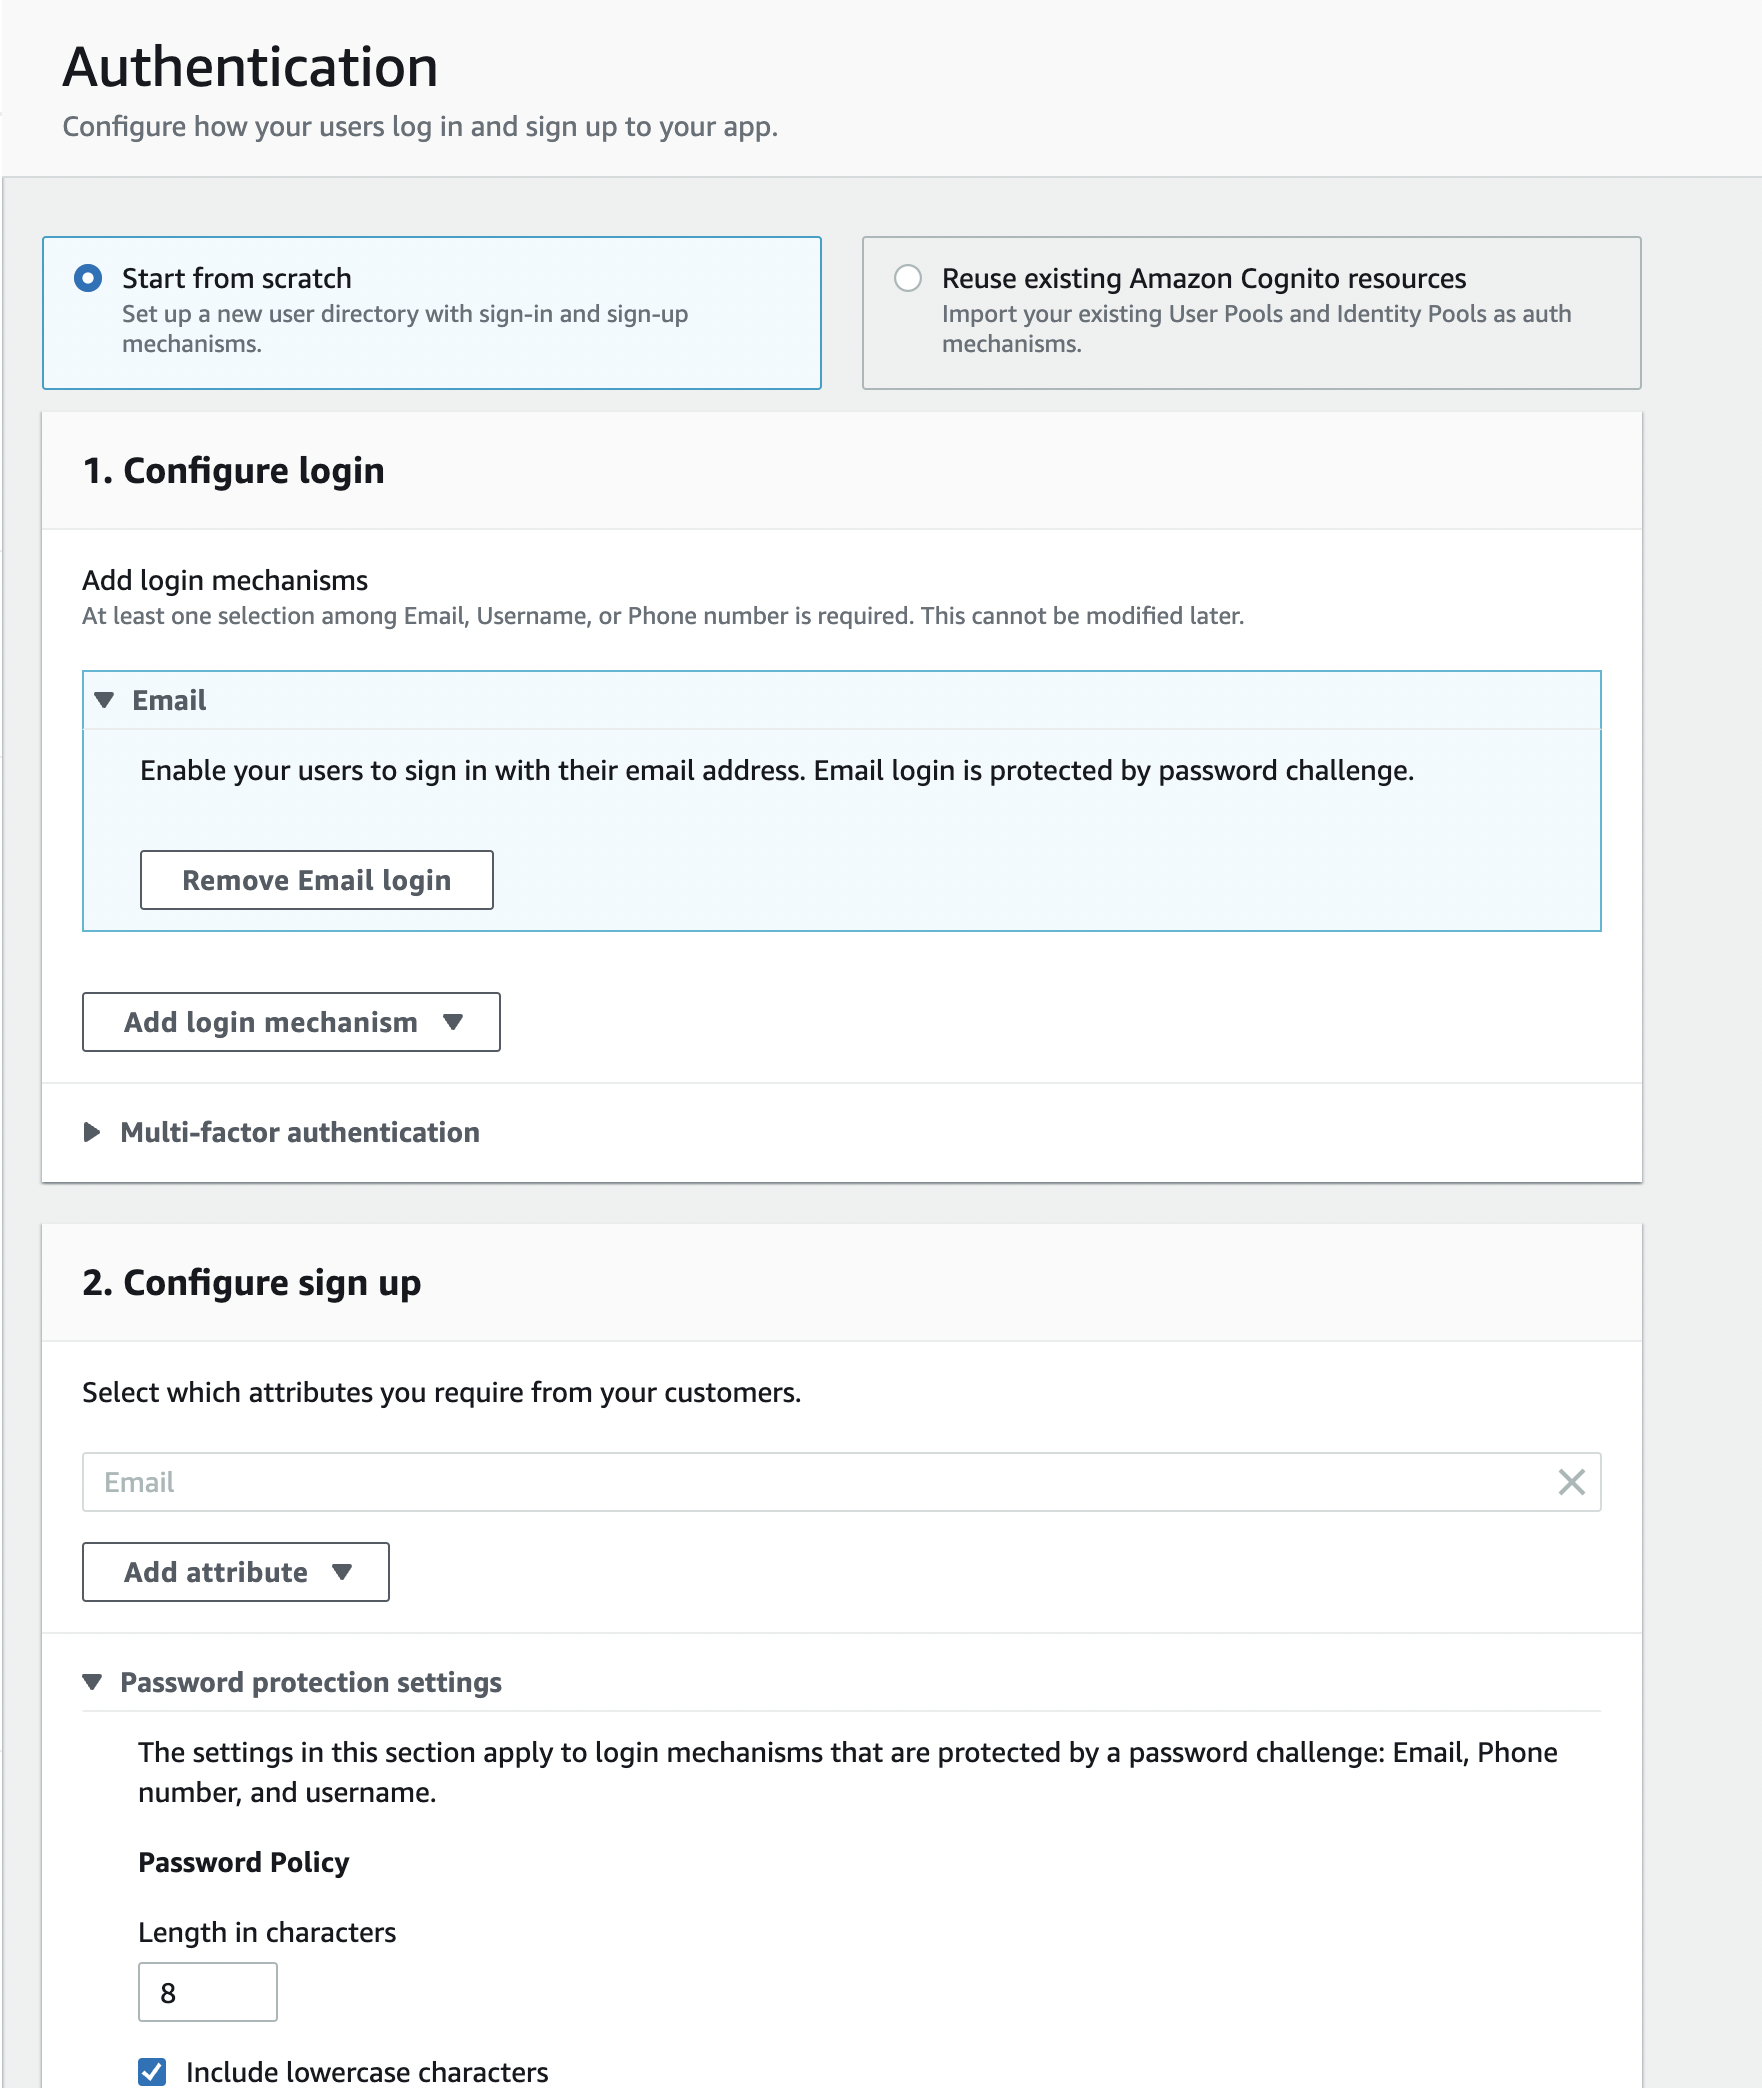
인증 방식에 대한 설정을 할 수 있다. email을 id로 할 것인지, username을 id로 할 것인지 비밀번호 구성은 어떻게 할 것인지 등
설정을 해 준뒤 Deply이 버튼을 누르고 배포가 완료되면 아래 그림처럼 가이드가 나온다. (Deployment successful - click for next steps클릭)

복사해서 Amplify Cli로 작업을 해보자.

아래처럼 설정을 완료한 다음
amplify 디렉토리를 ignore에 추가해주자.
3. 로그인 UI 생성
yarn add aws-amplify @aws-amplify/ui-react두 패키지 추가
이번에는 aws 기본 스타일을 추가 해보자.
app.js
import { AmplifyProvider } from '@aws-amplify/ui-react';
import '@aws-amplify/ui-react/styles.css'; // default theme

export default = () => (
  <AmplifyProvider>
    <App />
  </AmplifyProvider>
);
aws-export.d.ts 생성
declare const awsmobile: any;
export default awsmobile;
이대로 배포하면 빌드에서 실패한다.
이와 관련해서 해외 커뮤니티, 깃헙 등 많은 자료를 찾아봤는데 해결되지 않았다.. aws amplify 공식 깃헙에서는 우선 해결된 문제로서 처리방법이 아래와 같다.
GitHub - aws-amplify/amplify-ui: Cloud-connected UI components for Android, iOS, React Native & Web
Cloud-connected UI components for Android, iOS, React Native & Web - GitHub - aws-amplify/amplify-ui: Cloud-connected UI components for Android, iOS, React Native & Web
github.com
index.html body가 끝나는 부분에 추가
...
  <script>
    window.global = window;
    window.process = {
      env: { DEBUG: undefined },
    };
    var exports = {};
  </script>
</body>
vite.config.ts
...
export default defineConfig({
  plugins: [react()],
  resolve: {
      alias: [
      {
        find: './runtimeConfig',
        replacement: './runtimeConfig.browser',
      },
    ]
  }
})아래 resolve 부분 추가
tsconfig.json
...
  "compilerOptions": {
    "skipLibCheck": true,
...
여전히 빌드시 실패가 난다...
Could not resolve './aws-exports' from src/main.tsx